DIY Part II
Monograms
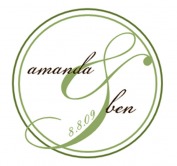
I made these both myself and don't think it's really too hard to do. The number one secret is to download a bunch of free fonts you like. The unique fonts really make all the difference and make the next step much easier. Then, use powerpoint and make a ton of boxes with different things like your names, wedding date, initials etc. Just play with different combinations until you find something you like!
This is our pre-wedding monogram. I've used it on our RSVP postcards and the website we created for our guests.
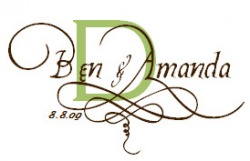
This is our post-wedding monogram and a good example of what chosing a fun font can do for you. This just fell together after I found a font that made the "A" in my name look all fancy. The font I used for our names is "Platthand" (except for the ampersand which this font doesn't have, so I just used a different script font).
I'm using this at the reception on our menus and possibly for a sign at our sweetheart table.
Programs
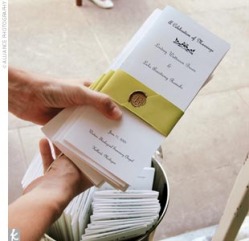
We're going to keep these pretty simple, but I'm tying in the wax seal again here to make it look a little special. To the left is my inspiration picture.
Menu
I agree that these are not totally necessary, but we want the best of both worlds: fun mingle-y atmosphere and formal elegance all at the same time. So we aren't doing a plated meal because I want people to feel comfortable walking around and enjoying the view, but we are doing a menu to make the place settings look and feel a little more formal.
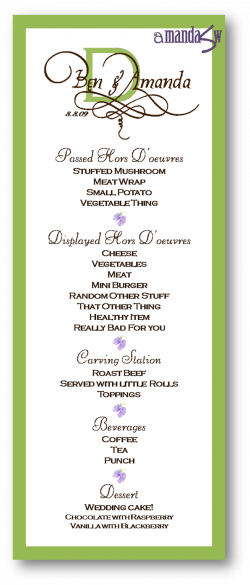
This is a mock-up of what it will look like (if you couldn't tell by the very serious food descriptions). The green will be the same paper I used for the invitations and luckily with this design, I can get three out of each piece (12"x12" cardstock). The white menu part will also be printed on natural white/ivory linen cardstock.
Dimensions: 10"x4"
Favors
It took us a looooooong time to agree on something since we have very different ideas about how simple or complicated the favors should be. After going back and forth, throwing ideas at each other like a battlefield, my suggestion 'won'... on the condition that he and I would be solely responsible for making them.
The winner is... chocolate truffles! My mom, sister and I make mocha truffles every year at Christmas and they are pretty popular as well as easy to make. In an effort to be a little more creative, I have bought some raspberry cordial that I'll be testing out soon to see if we can give people two different truffles. I also bought green/gold and red/plum dusting powders that are shimmery and edible so that I can make the truffles look a little more fancy.
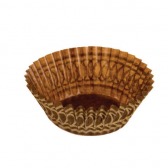
I have also bought fancy truffle cups like the one pictured above.
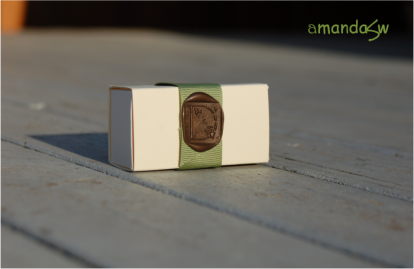
Here is the completed truffle box! I cannot take credit for the design, a good friend's aunt helped me make them and they are perfect. It's a slider box that I then added green ribbon and brown wax seal "D" to, our new last initial :)
(photography courtesy of my sister Isabelle)
Rehearsal & Rehearsal Dinner Invitation
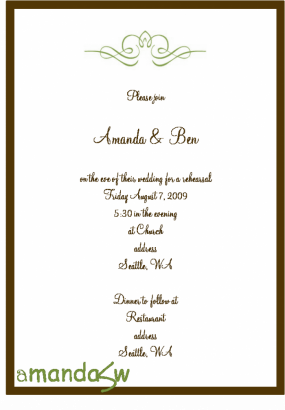
Anyway, I came up with this design because I have a bunch of the brown mat cardstock left over from the invitations and a ton more of the linen cardstock.
I'm also using scraps from cutting my pocketfolds to make a little map and directions card. Out of all the projects this was the fastest to come up with and I'm a little proud that I was so resourceful. (The brown edge shown will be the mat, not printed)
The flourish at the top is a clip art from PowerPoint (Vista) and the font is "Monterey BT".
